 |
| Descriptions |
|
• Basic • Full |
| Installation |
|
• Packages • Mac OS X • Automated Script • Manual |
| Configuration |
|
• MSS Graphical Tool • Manual • Tags |
| Use |
|
• Samples • Clients |
| Download |
|
• Files • History |
| Support |
|
• Faq • Forum |
| Extras |
|
• Security • Personalize • Translations • Pubs |
Documentation of Configuration
and Administration with GUI
2 - Presentation of GUI
3 - Sftp-who
4 - Sftp-state
5 - Config
6 - Log
7 - Remote Connection
8 - Parameters
9 - About
10 - Configuring MySecureShell
11 - Wizard
12 - Expert
| Introduction |
Once installed, MySecureShell must be configured. Here we see the configuration GUI under Java. To run the graphical tool, you must have Java installed and have previously. Download it from the site "Sun" [Java http://java.sun.com]. We recommend the Java "Sun" rather than "Microsoft Java" if you're on an architecture type "Microsoft Windows".
| Return to the synopsis |
| Presentation of GUI |
Since version 1.8 graphical tool, it is no longer necessary to use the user "root".
We must add an administrator user (via the tag IsAdmin) to MySecureShell then launch the GUI using this user.
To start the graphical tool, there is 2solutions:
- The first is that your operating system supports extensions and appurtenances. In this case, simply double click the file "sftp-mss.jar" and the graphical tool MySecureShell will start.
- The second solution is to use a terminal to launch the command line java file. To start, you must perform the following command:
java -jar sftp-mss.jar
Now the graphical tool launched, we will analyze it. It consists of several tabs as follows:

We shall see in detail each of these elements.
| Return to the synopsis |
| Sftp-who |
This tab lets you know which is connected and can disconnect any user.
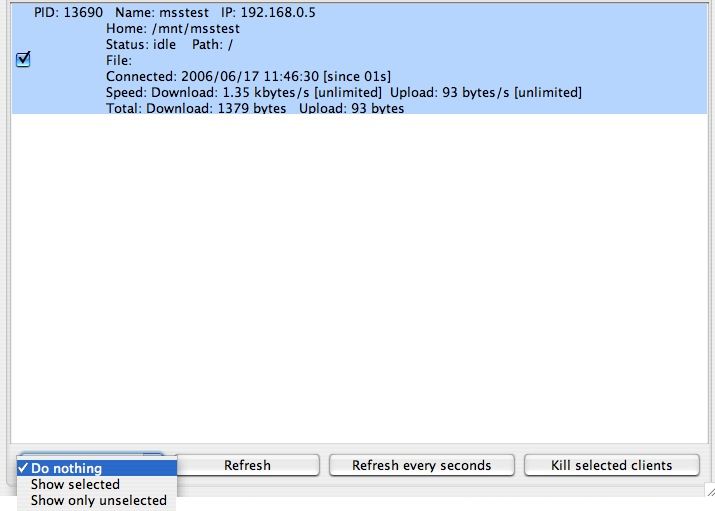
When people are connected, we can see absolutely all what they do on our server. When multiple users are connected, we must have a stranglehold on disconnections. Therefore you have a small menu.
First select users that you want to cross-react using the check box. Then, choose the option that suits you:
- "Do nothing": is the default choice, which has no impact on your boxes checked.
- "Show selected": this display only users whose boxes have summers checked.
- "Show only unselected": will toggle the display of the selection. This means that we see that persons who have not been checked.
We then have several possible actions depending on the selection made above:
The button "Refresh" will allow you to refresh the list of those currently connected to the server.
The button "Refresh every seconds" will be the same function as "Refresh", but will updated every second.
The button "Kill selected customers" will allow a user to disconnect once it selected.
| Return to the synopsis |
| Sftp-state |
Sftp-State can enable or disable the SFTP server and check its status.
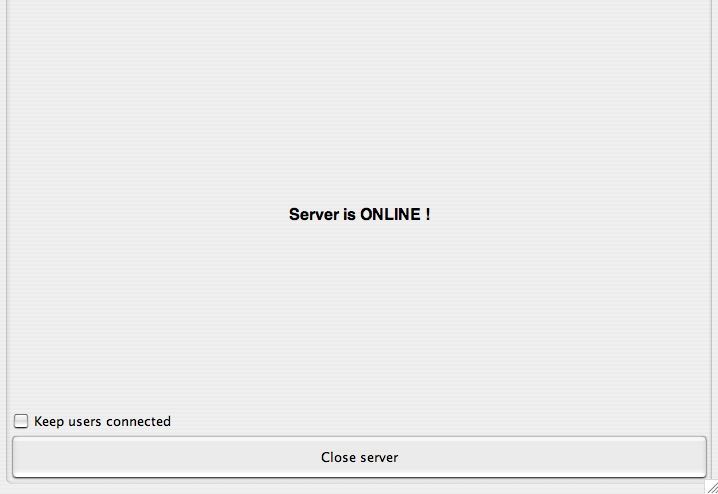
You can see that the server is enabled is written as "ONLINE !".
If the server is disabled, it will be listed on the site "OFFLINE!".
The button "Close server" will disable SFTP server. This button will only appear if the server is "ONLINE".
The button "Open server" will enable SFTP server. This button will only appear if the server is "OFFLINE".
And finally, the checkbox "Keep users connected" keep the users currently connected to the end of their session if you choose to disable the SFTP server.
| Return to the synopsis |
| Config |
This tab allows you to make the Configuration server. There are 2 kinds of configurations:
- The configuration mode wizard, specially made for beginners or those with little knowledge.
- The configuration mode expert. This thing here is for people wanting to make more precise rélages.
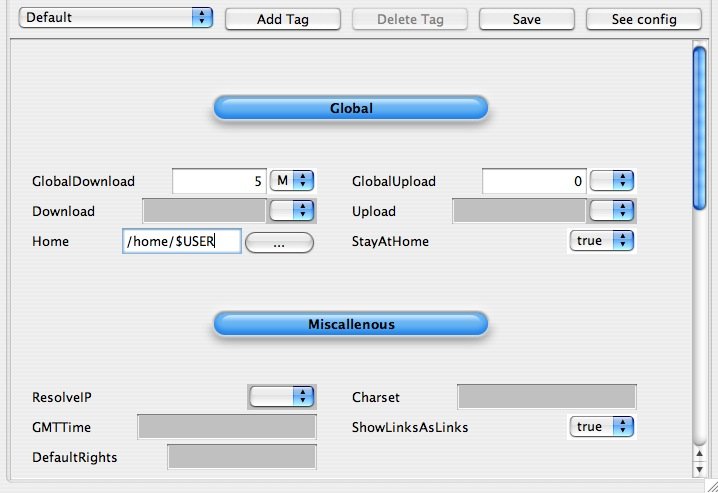
We will see below ([#conf Chapter 2]) how to perform configuration.
| Return to the synopsis |
| Log |
Here you can see everything that happens and has happened on your server. These are logs!
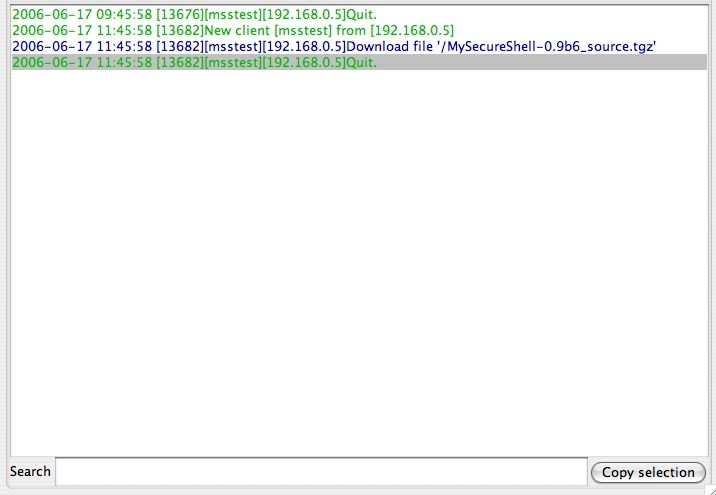
Several colors exist in the logs that allow better visualization of actions performed.
The part containing "Search" will help you to look for very specific data in the logs (action equivalent to "grep").
You go by typing "guest", having all the information about the user prompt.
Following this, you can export a selection of logs! In effect, select the log you want, and click the button "Copy selection". It'll just paste the selection you want.
| Return to the synopsis |
| Remote Connection |
With this tab you will be able to remotely administer your server MySecureShell.
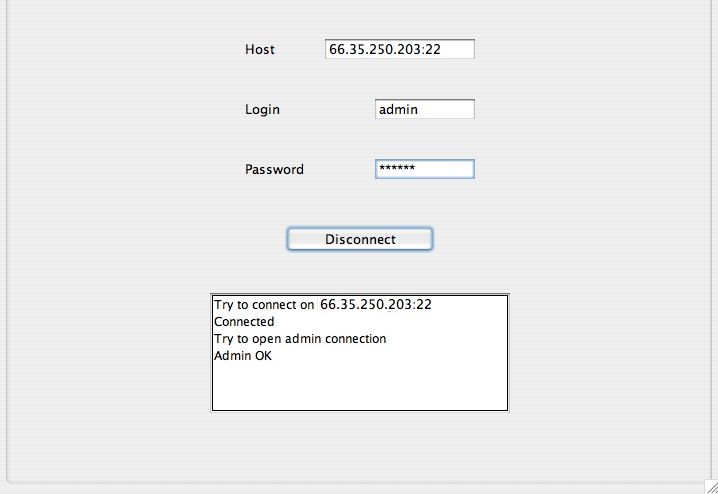
Before you connect remotely, be sure to have in the server configuration rights to administer the server.
You need to have in your configuration directive "IsAdmin" of valid to the user with whom you will connect remotely.
To pass the directive "IsAdmin" to "True", it should be edit the configuration file by hand or to use the GUI in Java local (on where the computer is installed MySecureShell). You can then use the tab "Remote".
To connect remotely, it's very simple. Simply complete these fields:
- Host: IP Address or hostname of the server MySecureShell, followed optionally by port (eg: 22 (by default)).
- Login: id is "Admin" (with the Directive "IsAdmin").
- Password: password of this identifier.
Then click the button "Connect". When you're connected, the Host, Login and Password become disable and the button "Connect" appears as "Disconnect". The button red tab will also Green if the operation is successful.
You will also see a small white rectangle in which the connection status will appear.
| Return to the synopsis |
| Parameters |
This tab allows the location of certain files and the choice of language of the GUI.
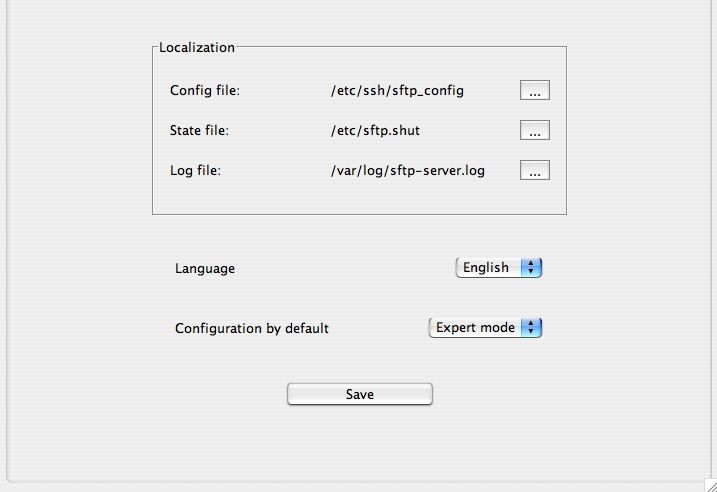
- Language : choose here the language of the GUI.
- Configuration by Default : switch configuration mode or expert mode wizard default.
Finally, click on the button "Save" to save your settings.
| Return to the synopsis |
| About |
Some information and links to MySecureShell.
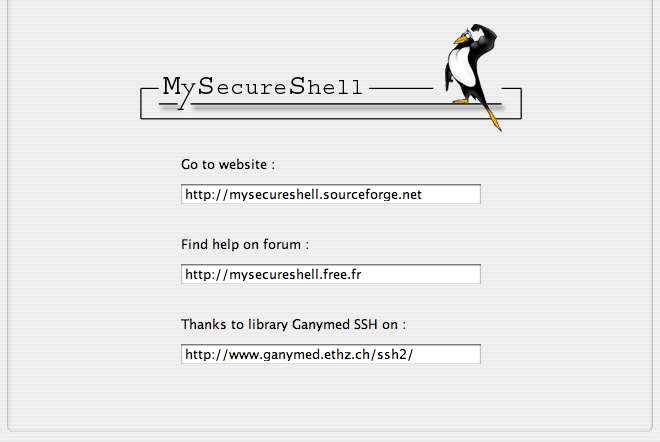
Remember that the forum is the best way to find the solution to his problem!
| Return to the synopsis |
| Configuring MySecureShell |
The configuration MySecureShell is in the "Config". We will see here the 2 possible modes.
| Return to the synopsis |
| Wizard |
Here are some of the simplified configuration. This means that we have here reduced the possible options to basics. This allows easy configuration with a maximum of preconfigured security.
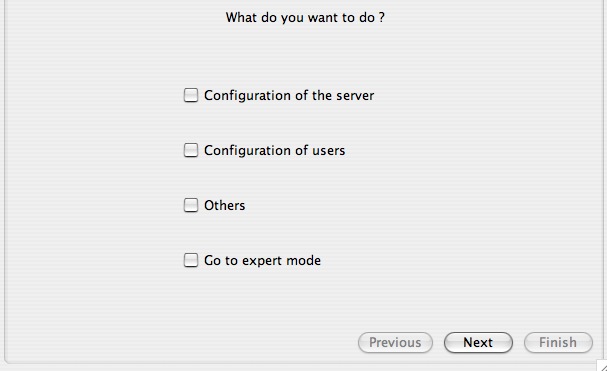
In this menu you can select multiple choices, so that solutions are settings you suggested. Then click "next" so that they are then "Finish" when you complete the configuration. We will see in sequence the various options.
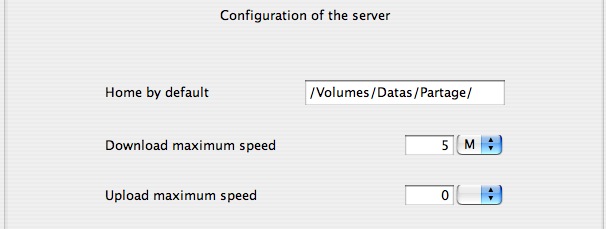
- Home by default : This is the directory where users go online once.
- Download maximum speed : This is the maximum throughput that the server can supply downstream capacity.
- Upload maximum speed : This is the maximum throughput that the server can supply flow amount.

- List of users / existant groups : You can select the users with whom you want them to register to MySecureShell.
- Create new user : Create a user for MySecureShell.
- Delete : Deletes the account MySecureShell for the user.

- Select the administrator : Selection of the administrator who will MySecureShell all administrative rights to MySecureShell.
- Hide files without rights : You can automatically hide the files for users who do not have rights to certain files.
- Maximum connection : This is the total maximum number of simultaneous connections.
- Maximum connection by user : Maximum number of connections per concurrent user.
The last choice is "Go to expert mode. You can now go to expert mode. You have a question you will be asked whether you want to be default in expert mode or not. You can change your choice in the "Parameters".
| Return to the synopsis |
| Expert |

The configuration is divided into MySecureShell 2 parts: tags first and second level.
Pay close attention to these distinctions!
Tags first level can identify a user, group, etc. ...
While tags second level will serve as guidelines for restricted tags first level.
There is a directive from first level ESSENTIAL for the proper functioning of MySecureShell called "Default". When you installed MySecureShell for the first time, automatically. Do never delete it because it will govern the default rules of your server MySecureShell!
For add a tag of first level, just click on the button "Add Tag". To delete "Delete Tag".
The second level tags appear in the central area of the window. They correspond, for example "Home", "Download", "Upload" etc. ...
We have created several categories to better identify them.
We will create a directive for a user instance called "guest". If you want an account complete system including a "home" like your system, then you must create MySecureShell otherwise you will create a basic account without "Home".
If a system account already exists for the user name you want to enter MySecureShell, then it will use to connect to it.
Click "Add Tag", choose the type of tag first level (here "User") and enter "guest" in "Tag value".
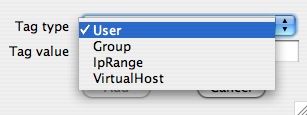
Then click "Add". The directive is created. When you position on this, there will be above the gray cells. The cells thus appear when a value in the Directive "Default" is already defined or no value is defined. You can of course change.
Now that you know everything you need to make a configuration, you can save your own by clicking on "Save". You can test it by connecting to the server MySecureShell that you just configured. If you encounter any problems, look at the "Logs", they are made to it ;-).
You can see the current configuration of your server MySecureShell by clicking on the button "See config".

We recommend you consult tags to understand what each represents.
| Return to the synopsis |
